Table of Contents
ToggleA small kitchen doesn’t mean you have to sacrifice function or style. Your sink is often the anchor of kitchen workflow, washing, prepping, and cleanup all happen there. When square footage is tight, choosing the right sink and setup can transform how your kitchen actually works. Whether you’re renovating a 200-square-foot apartment, updating a cottage kitchen, or making the most of a galley layout, there are smart sink solutions that won’t eat up precious counter space or require a total gut rehab. This guide walks through seven practical sink ideas, from compact styles to space-saving fixtures and storage hacks that even experienced DIYers can tackle.
Key Takeaways
- Small kitchen sink ideas like undermount and apron-front styles in 20–30 inch sizes maximize functionality while minimizing visual clutter and wasted counter space.
- Space-saving faucet designs, such as single-handle pull-down sprayers and wall-mounted options, reclaim valuable counter and sink rim real estate in compact kitchens.
- Smart storage solutions around your sink—including open shelving, magnetic strips for utensils, and fold-down cutting boards—effectively use vertical space to expand your work area.
- Stainless steel offers budget-friendly durability, while composite and porcelain materials provide premium aesthetics; choose based on your kitchen’s style and the cabinet’s weight capacity.
- Most homeowners can successfully replace drop-in sinks themselves with basic plumbing knowledge, but undermount and apron installations require professional help to avoid costly mistakes.
- Measure your cabinet opening and account for plumbing runs before purchasing; even small kitchen sink upgrades need accurate planning to fit your existing infrastructure.
Compact Sink Styles That Fit Any Micro Kitchen
Undermount and Apron Front Options for Small Spaces
When space is limited, every inch matters. A 20-inch to 24-inch single-bowl undermount sink takes up less visual real estate than a traditional two-bowl unit while still giving you functional depth. Undermount sinks sit flush beneath the countertop, eliminating the rim that catches crumbs and grime, plus they’re easier to wipe debris directly from counter into bowl.
Apron-front (also called farmhouse) sinks offer a different advantage: they project forward, which means you’re not fighting the edge of a shallow counter lip. For small kitchens, a 30-inch apron sink in porcelain, cast iron, or composite material can actually feel less cramped than a standard 33-inch drop-in. The exposed front adds visual interest without taking extra floor space.
Consider bar-sink dimensions if your kitchen is truly minimal, these run 15 to 18 inches wide and pair well with a wet bar setup or secondary workspace. They won’t handle large baking sheets, but they’re ideal for washing vegetables and prepping.
Before buying, measure your existing cabinet opening and account for plumbing runs. Changing from drop-in to undermount or apron-front usually requires cabinet modifications: apron styles need a notch cut into the cabinet frame’s front edge. If you’re unsure about structural integrity, a contractor should assess whether the cabinet can support the weight (cast iron apron sinks run 70–100 pounds).
Space-Saving Faucet and Fixture Designs
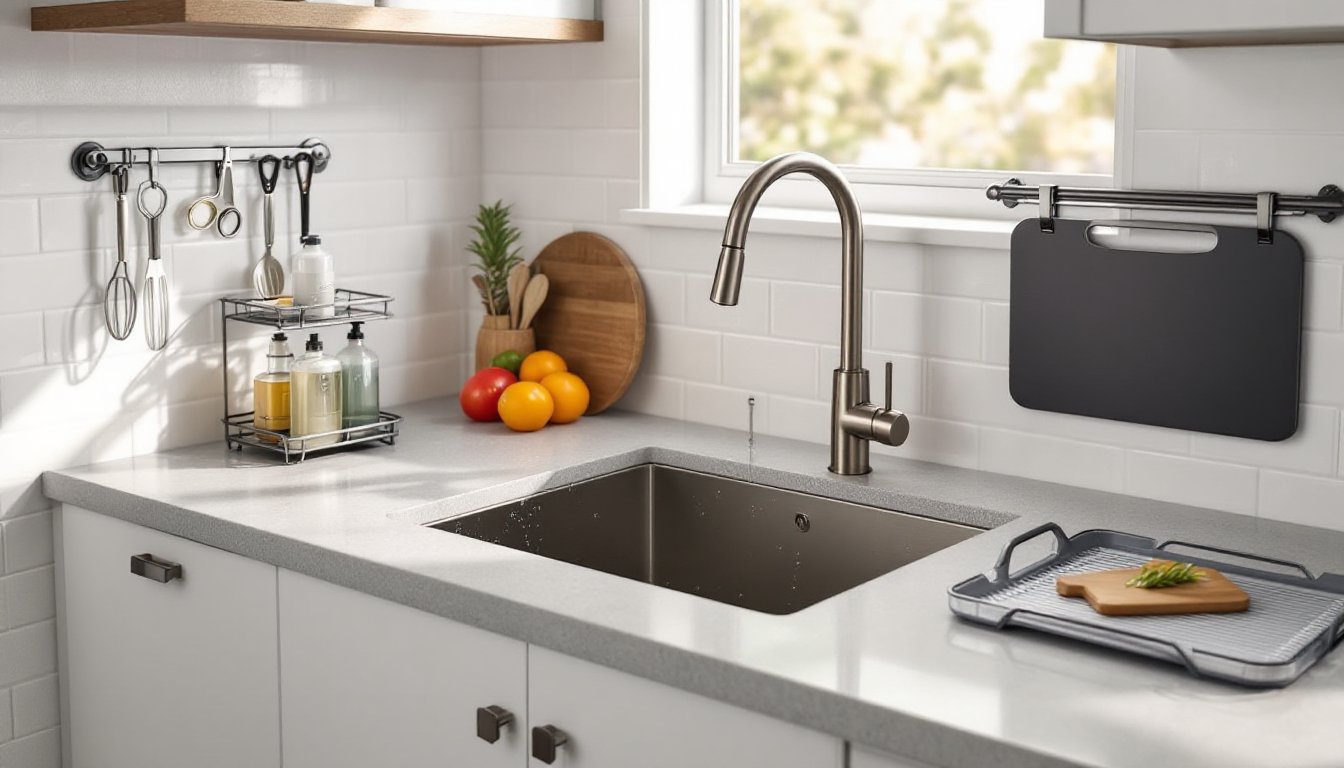
The faucet footprint often goes unnoticed until you’re crowding a small counter. A compact, single-handle faucet with a low-arc or gooseneck spout uses a fraction of the space a dual-handle or high-arc fixture requires. Single-handle designs are easier to operate with a bent arm too, no twisting between hot and cold.
Pull-down sprayer faucets save space by combining the main spout and spray in one unit. You pull the spout down to switch to spray mode, then push up to return to steady flow. This eliminates a separate sprayer valve, freeing counter and sink rim real estate. Top brands offer ceramic cartridge valves rated for 500,000 cycles, so reliability isn’t sacrificed for compactness.
Wall-mounted faucets are another option if your counter is truly congested. They require running supply lines through the wall, which means either exposed plumbing in a rental situation or opening walls in owned homes. This is a bigger project but pays back in counter space.
Faucet height matters too. A 7- to 8-inch spout height is standard: anything taller will stick up above cabinets or shelving. Measure from sink rim to the lowest overhang (shelf, cabinet, or backsplash), then subtract 2 inches for clearance.
Recent small kitchen solutions from design sites emphasize minimalist faucet profiles in matte black or brushed nickel, these finishes hide water spots better than polished chrome in high-traffic kitchens, so your fixture stays looking cleaner longer.
Smart Storage Solutions Around Your Sink Area
The undersink cabinet is prime real estate, but standard layouts waste it. Open shelving or pull-out baskets turn dead space into accessible storage for cleaning supplies, dishcloths, and spare sponges. A tiered shelf organizer (even a simple tension rod mounted horizontally) keeps bottles upright and visible.
For renters or those avoiding plumbing work, a pedestal sink with a small console table beside it can free up cabinetry elsewhere. Pedestal sinks look vintage but require floor space: they work best in bathrooms but can function in kitchens with good drainage and clearance.
Corner sinks are rare in tiny kitchens but worth considering if your layout has an unused corner. They use dead space and keep the sink out of the main work triangle. But, corner placement makes faucet and sprayer reach awkward, and undersink storage becomes cramped, so this is a trade-off.
Magnetic strips mounted on the wall beside the sink hold metal utensils (vegetable peelers, scissors, can openers), freeing drawer space. Hanging towel bars, utensil hooks, and a fold-down cutting board (mounted on adjacent wall space) let you use vertical real estate instead of horizontal counter.
Studio apartments and tiny homes ideas on compact living show that a single-basin sink paired with a rollaway cart or fold-out counter extension doubles your effective work surface on demand. When not in use, it tucks away.
Material Choices That Optimize Durability and Aesthetics
Stainless steel is the industry standard for good reason: it’s affordable, durable, and forgiving of hard water stains if you wipe it dry. For small spaces, polished 16- or 18-gauge stainless (thicker is better) resists denting and looks sleek. Drawback: fingerprints show easily. Brushed finishes hide marks better and feel more modern.
Composite (granite or quartz composite) sinks are trendy and handle temperature swings without cracking. They’re heavier than stainless, so cabinet framing must be solid. Colors range from charcoal to white: they hide stains and look premium. Cost is higher, expect $200–$600 for a quality composite versus $80–$200 for stainless.
Porcelain and cast iron apron sinks are durable and beautiful but need care. Porcelain can chip if you drop a pot: cast iron requires seasoning or interior enamel coating to prevent rust. Both are heavier and require robust mounting. These suit vintage or farmhouse aesthetics but add weight the cabinet must support.
Solid surface or acrylic materials are lightweight and integrate with countertops for a seamless look. They’re easier on dropped dishes than porcelain but can scratch or discolor over time with harsh scrubbing.
Measurements matter: 16-gauge stainless (about 0.06 inches thick) is standard: 18-gauge is thinner and more prone to denting. For composite, check the minimum basin depth (typically 8–10 inches): shallow basins look modern but don’t accommodate large pots. Resources like kitchen design guidance often highlight material comparisons and real-world durability data.
DIY Installation and Upgrade Tips for Homeowners
Replacing a drop-in sink is a straightforward DIY project if you’re comfortable with plumbing basics. Step 1: Turn off water at the shutoff valve under the sink (or at the main if there’s no valve). Disconnect supply lines using an adjustable wrench, have a bucket ready for residual water. Disconnect and remove the old drain trap using a pipe wrench or pliers. Step 2: Remove the old sink by loosening clips or fasteners beneath the rim (different sinks use different hardware). Lift it out carefully, it’s heavy and awkward.
Step 3: Clean the countertop. Set the new sink in place and check fit. Mark mounting points with a pencil if using clips. Step 4: Apply a bead of silicone caulk (clear or color-matched) around the underside rim before dropping the sink, which seals it against moisture and helps with noise dampening. Step 5: Secure mounting hardware and reconnect supply lines and drain. Turn water back on and check for leaks at all connections, tighten gently if needed.
Undermount sinks require more skill because the sink sits beneath the counter and must be secured from below, often with epoxy adhesive and support brackets. Unless you’re experienced with this, hire a pro. Cabinet cutouts must be precise: mistakes here are costly.
Apron sinks require cutting the cabinet front face, which is beyond basic DIY, this is definitely a job for a contractor or very confident builder.
Safety first: Wear safety glasses when working under the sink (old pipes can shed rust or splinters). Have a headlamp or flashlight: undersink work is dark. Rubber gloves protect against old debris and sharp edges. Disconnect electrical under-sink garbage disposals completely, even if they seem off.
Style updates without full replacement: paint cabinet faces, upgrade hardware, add open shelving, or install new faucets if the sink itself is solid. A new kitchen organization](https://www.remodelista.com/posts/10-easy-pieces-small-kitchen-sinks/) strategy sometimes makes your current sink feel fresh.
Conclusion
Small kitchen sinks don’t require compromise. Choosing the right size, style, and supporting fixtures can make your tiny kitchen feel spacious and efficient. Undermount and apron-front options reduce visual clutter, space-saving faucets reclaim counter real estate, and smart storage solutions maximize the area around your sink. Material choice balances durability with aesthetics, stainless steel for budget-conscious practicality, composite for style, or porcelain for vintage charm. Most homeowners can handle drop-in sink replacement themselves: more complex installations warrant professional help. Start with your actual needs and measurements, then build your solution from there.