Table of Contents
ToggleThe space beneath your deck often goes to waste, a shadowy area that collects leaves, debris, and provides an open invitation for pests and unwanted critters. Under deck screening solves that problem by creating a usable outdoor room while keeping the elements mostly at bay. Whether you’re looking to expand your living space, protect stored items, or simply make better use of your yard’s real estate, screening your under-deck area is one of the most practical investments a homeowner can make. This guide walks you through the main screening options, installation fundamentals, and budget-smart approaches to finding the solution that fits both your space and your wallet.
Key Takeaways
- Under deck screening transforms wasted yard space into a dry, semi-sheltered outdoor room while preventing debris accumulation and pest invasion.
- Mesh screening systems offer maximum airflow and bug protection at $3–8 per linear foot, making them ideal when visibility and ventilation are priorities.
- Solid panels provide enhanced privacy and weather protection at $12–20 per linear foot but require proper ventilation to prevent moisture buildup.
- Lattice and slatted screen designs balance privacy, aesthetics, and cost, ranging from $1–15 per linear foot depending on material and spacing.
- DIY installation of mesh or lattice can save 40–60% on labor costs, while off-season shopping and mixed-material approaches further reduce project expenses.
- Always verify local building codes and ensure deck framing is structurally sound before installing under deck screening systems.
What Is Under Deck Screening and Why You Need It
Under deck screening is a barrier system installed beneath an elevated deck that blocks debris, insects, and small animals while allowing air and light to flow through. The most common setups consist of panels, mesh, or lattice material attached to the deck’s joists, posts, and perimeter framing.
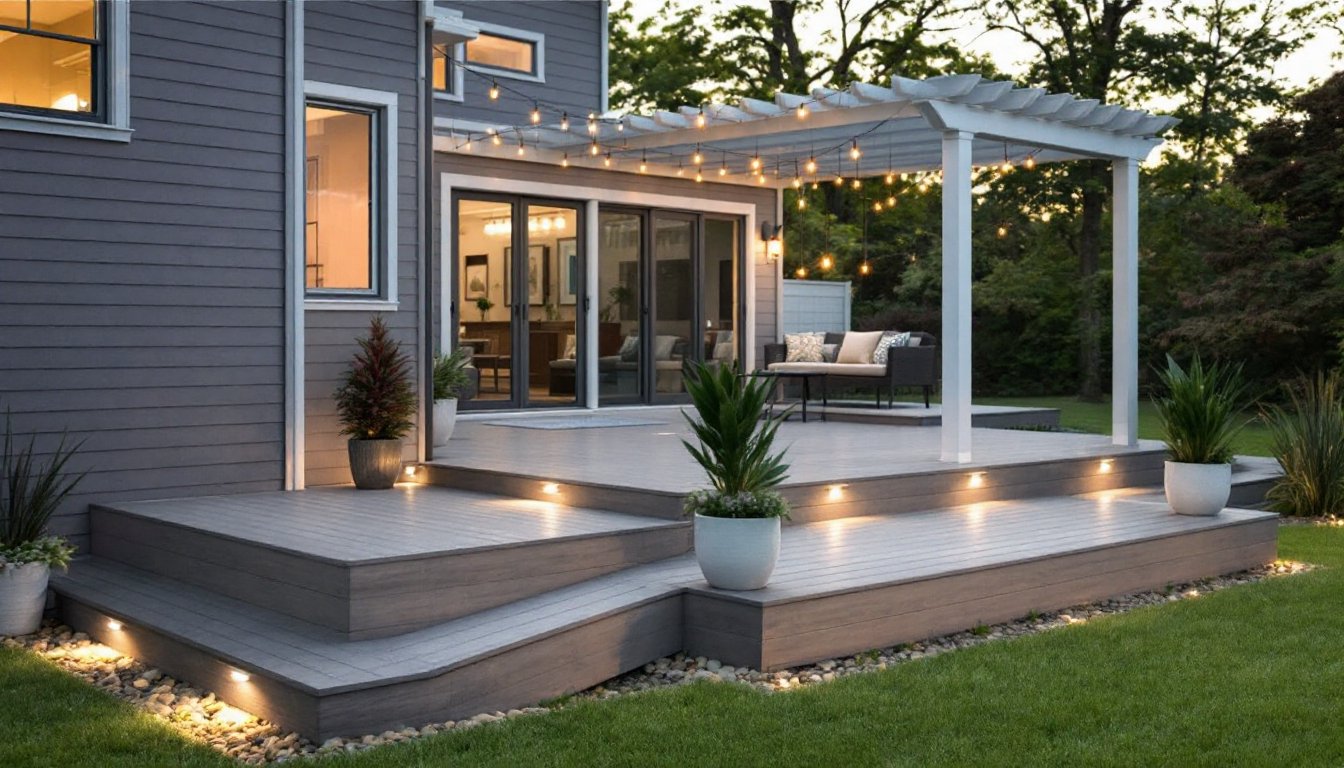
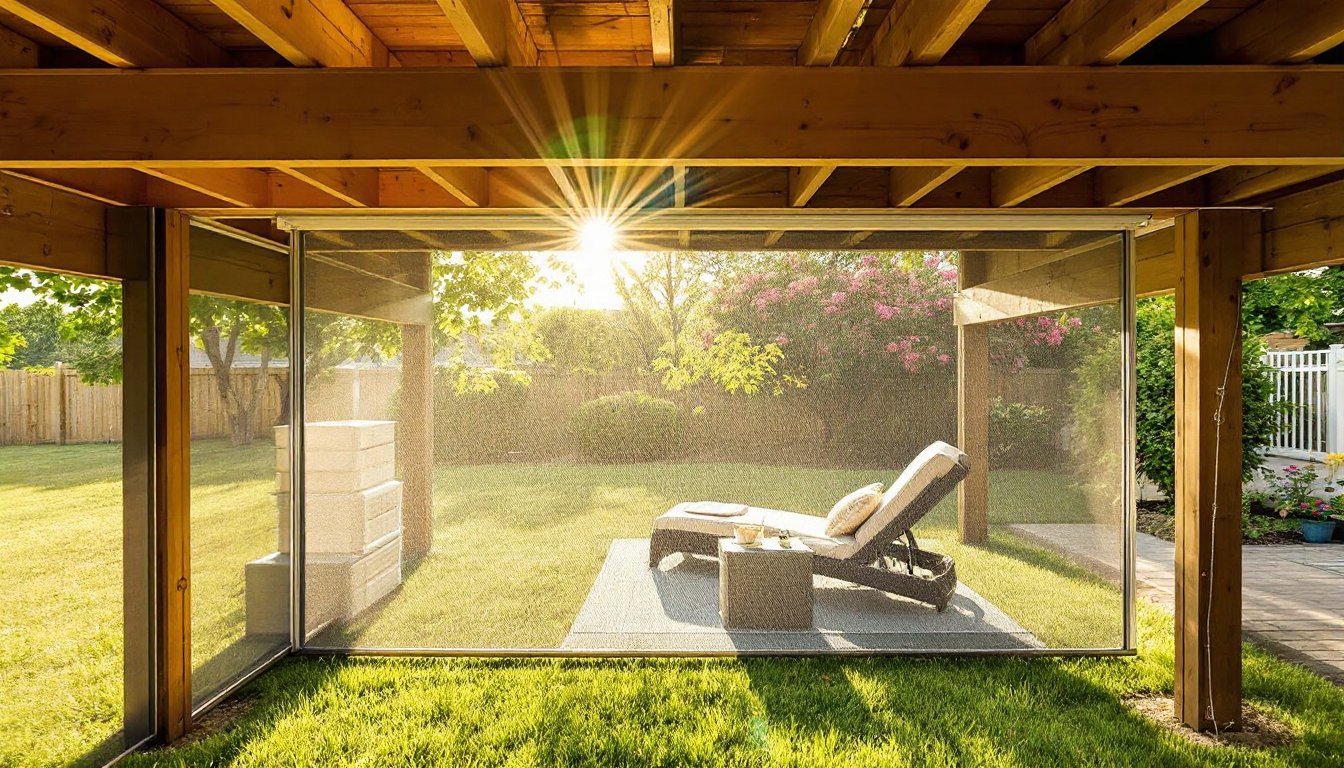
Why install it? First, it reclaims usable outdoor space. You gain a dry, semi-sheltered area perfect for lounging, storage, or entertaining during light rain. Second, screening prevents leaves, acorns, and dirt from accumulating underneath, meaning less cleanup and fewer pest invitations. Third, it adds visual appeal and can boost perceived property value. Many buyers see a screened underdeck as an extension of the living space rather than dead square footage.
Before choosing a system, assess your deck’s current condition. The framing beneath must be structurally sound: screening weight is minimal (typically 2–5 lbs per linear foot), but damaged joists or posts should be repaired first. Also check local building codes, most jurisdictions classify under deck screening as a non-structural addition that doesn’t require permits, but a few do regulate it. Call your local building department to confirm: it’s a five-minute conversation that saves headaches later.
Mesh Screening Systems for Maximum Airflow
Mesh screening is the go-to choice when airflow and visibility are priorities. It stops bugs and smaller debris while letting breezes flow freely underneath the deck, which is crucial for preventing moisture buildup and keeping the space cool.
Mesh typically comes in two grades: standard 18-mesh (small enough to block most flying insects) and fine 20-mesh (stops smaller gnats and no-see-ums). Material options include vinyl, fiberglass, and aluminum-backed mesh. Vinyl is budget-friendly but less durable in intense sun: fiberglass offers a longer lifespan and better UV resistance: aluminum-backed mesh is premium but rarely necessary for a deck screen.
Installation basics: Measure the deck’s perimeter and underside, then order or cut mesh panels. Most systems use a track or channel system, aluminum extrusions running along the deck rim and posts, with the mesh inserted into the channel and locked in place. Some kits use removable splines (thin strips that squeeze the mesh into the groove), making panels replaceable if damaged. Typical installation takes a weekend for a standard 12×16 deck.
Cost-wise, mesh runs roughly $3–8 per linear foot installed (materials plus labor if hiring help). A 50-foot perimeter costs about $150–400 in materials. HomeAdvisor provides project cost estimators that let you compare contractor quotes for installation in your region. One downside: mesh doesn’t provide privacy or block wind effectively, so if you’re seeking a more enclosed feel, consider solid options.
Solid Panel Options for Enhanced Privacy
Solid panels, typically made from vinyl, composite, or treated wood, block weather, wind, and prying eyes while creating a more finished, room-like feel beneath the deck. They’re heavier than mesh, but still manageable for a DIY installer.
Vinyl composite panels are popular because they don’t rot, require minimal maintenance, and come in colors that complement most deck tones. They’re also UV-stable, so they won’t fade quickly. Treated wood panels cost less upfront but demand annual sealing and will eventually splinter or check in sun exposure. Composite wood-plastic hybrid options split the difference, better durability than wood, slightly lower cost than pure vinyl, though they can be harder to cut and install.
Solid panels typically mount to a frame of 2×4 or 2×6 studs set every 16 inches on center (the standard spacing used in home framing). This creates a structural skeleton to which panels attach. The frame itself fastens to existing deck posts and joists. Fasteners should be stainless steel or galvanized (never bare steel, it rusts and stains the panels) and spaced 16 inches apart. If you lack carpentry experience, consider having a contractor frame it: the panel installation itself is straightforward once the skeleton is up.
Costs run $12–20 per linear foot installed. A 50-foot perimeter with solid panels averages $600–1,000, not including framing labor. One practical note: solid panels reduce airflow, so ensure the space underneath has some ventilation (small gaps at corners or a few vent holes) to prevent moisture trapping.
Lattice and Slatted Designs for Aesthetic Appeal
If you want privacy without full enclosure, or visual interest without the cost of solid panels, lattice and slatted screens are the sweet spot.
Traditional Lattice Patterns
Lattice, thin strips of wood or vinyl woven in a diagonal or square pattern, offers partial privacy and allows some airflow. Traditional wooden lattice is inexpensive ($1–3 per linear foot) and easy to install with simple fasteners, but it requires regular sealing and can warp over time. Vinyl lattice costs more upfront ($4–8 per linear foot) but won’t rot and needs only occasional cleaning.
Installation is straightforward: secure 2×2 or 2×4 frame members around the deck’s perimeter, then screw or staple pre-made lattice panels (typically 4×8 sheets) to the frame. Overlapping joints and corners with trim pieces gives a finished look. Many DIYers handle this solo in a day or two. One caution: lattice reduces visibility but doesn’t fully block weather, wind, or determined insects. Vines and climbing plants can fill gaps and create a more secluded feel, though they’ll require periodic trimming.
Modern Slatted Screens
Slatted screens, horizontal or vertical boards with uniform spacing, deliver a contemporary aesthetic and better privacy than lattice. Spacing typically ranges from 1 to 3 inches between slats: wider spacing maintains airflow, while closer spacing increases privacy.
Slats are usually 1×4 or 1×6 boards (actual dimensions are 0.75″ × 3.5″ or 0.75″ × 5.5″ after milling) spaced and fastened to horizontal or vertical frame rails. Spacing can be dead even for a clean, modern look, or staggered for a dynamic effect. Vertical slats are faster to install and more forgiving of uneven deck lines: horizontal slats look sleeker but expose uneven footwork if spacing drifts.
Costs run $5–15 per linear foot depending on wood species (pressure-treated pine is budget-friendly: cedar or composite costs more) and spacing density. Fix This Build That offers detailed woodworking plans if you want to design custom slatted frames. Installation demands decent carpentry skill, spacing consistency matters, but is doable for motivated DIYers. Sand all wood smooth, prime, and paint or stain before assembly to reduce maintenance later.
Budget-Friendly Installation Tips
Screening doesn’t have to drain your budget. Here’s how to keep costs down without cutting quality corners.
Start with materials, not labor. If you’re handy, self-installing mesh or lattice saves 40–60% of the project cost. Solid panels and slatted designs demand more skill: consider hiring for framing but handling finishing yourself. Measure twice, buy once, over-ordering materials eats into savings.
Shop off-season. Mesh and lattice kits are cheaper in fall and winter when demand dips. Spring and early summer pricing is highest. Stock and compare, big-box retailers often undercut specialty suppliers on basic systems.
Mix materials smartly. Use budget mesh on sides with less visibility and splurge on slatted or lattice fronts. A combo approach lets you maximize aesthetics where it counts and save elsewhere.
DIY the simple parts. You don’t need a contractor for fastening, painting, or trim work. A drill, level, and tape measure are your main tools. Rent scaffolding or tall ladders if your deck is very high, safer than overextending. Wear safety glasses and gloves when fastening, and a dust mask if cutting composite materials (they create fine particles).
Reuse what you can. If removing old privacy fencing, salvage good lumber. Old deck boards become frame members or slats. Bob Vila’s article on under deck ideas includes inspiration for repurposing materials creatively.
Plan for access and maintenance. Leave a small access panel or removable section so you can clean gutters, check joists, or maintain HVAC equipment below the deck. It saves frustration later. Budget an extra $50–100 for hinged frame sections or removable panels.